Qortal Project Wiki
Important Notices
- Account Recovery & Backup File
- Only Use Official Releases
- Scammers Attempting To Steal
- Sending Coin To/From Exchanges
- Port Forwarding & uPnP
Introduction
- Quick Start Guide
- Qortal 101
- Qortal Project Overview
- Qortal In A Nutshell
- Qortal Project Background Info
- Community 'Leadership' Structure
- Launch Phases
Project Model
- The Qortal Model
- Fundamental Principles
- The Qortal Credo
- The Future of Qortal
- The Big Picture of Qortal
- The QORT Coin
- The QORA Transition
- Comparison To ‘Similar’ Platforms
- Account Types
- Node Types
- How Qortal’s Consensus Works
- How Auto Updates Work
- State-of-the-Art Security
- Authentication System
- Name Registration
- Communications
- Web Hosting
- Application Hosting
- GitHub Replacement
- Mesh Networking
Minting
- Minting Overview
- Leveling System
- Block Rewards & Distribution
- Sponsorship Questionnaire
- Future Modifications
Communications
- Q-Chat
- Q-Mail
- Message Encryption
Qortal Trading (Trade Portal / Q-Trade)
Qortal Data Network (QDN)
Voting System
AT (Automated Transactions)
Hardware
Media Related
- Interviews/Podcasts
- Information Videos
- Official Images/Press Kit
- Memes & Image Designs
- Press Releases & Newsletters
- What is the Qortal Project?
- Qortal 1 Year Anniversary!
- Qortal 2 Year Anniversary!
- Qortal Overview PowerPoint
- Third-Party Publications
Frequently Asked Questions (FAQ)
- Qortal Glossary
- Project FAQ
- Core FAQ
- UI FAQ
- Minting FAQ
- QORA-QORT FAQ
- Trade Portal FAQ
- QDN & Q-Apps FAQ
How-To Guides
- Help Videos
- Account Setup & Recovery
- How To Register A Name
- How To Change A Name
- Becoming a Minter (NEW)
- Re-Adding Your Minting Key
- How To Use The Trade Portal
- Trade Portal Coin Recovery
- QORTector Walkthrough
- QORTector Update Guide
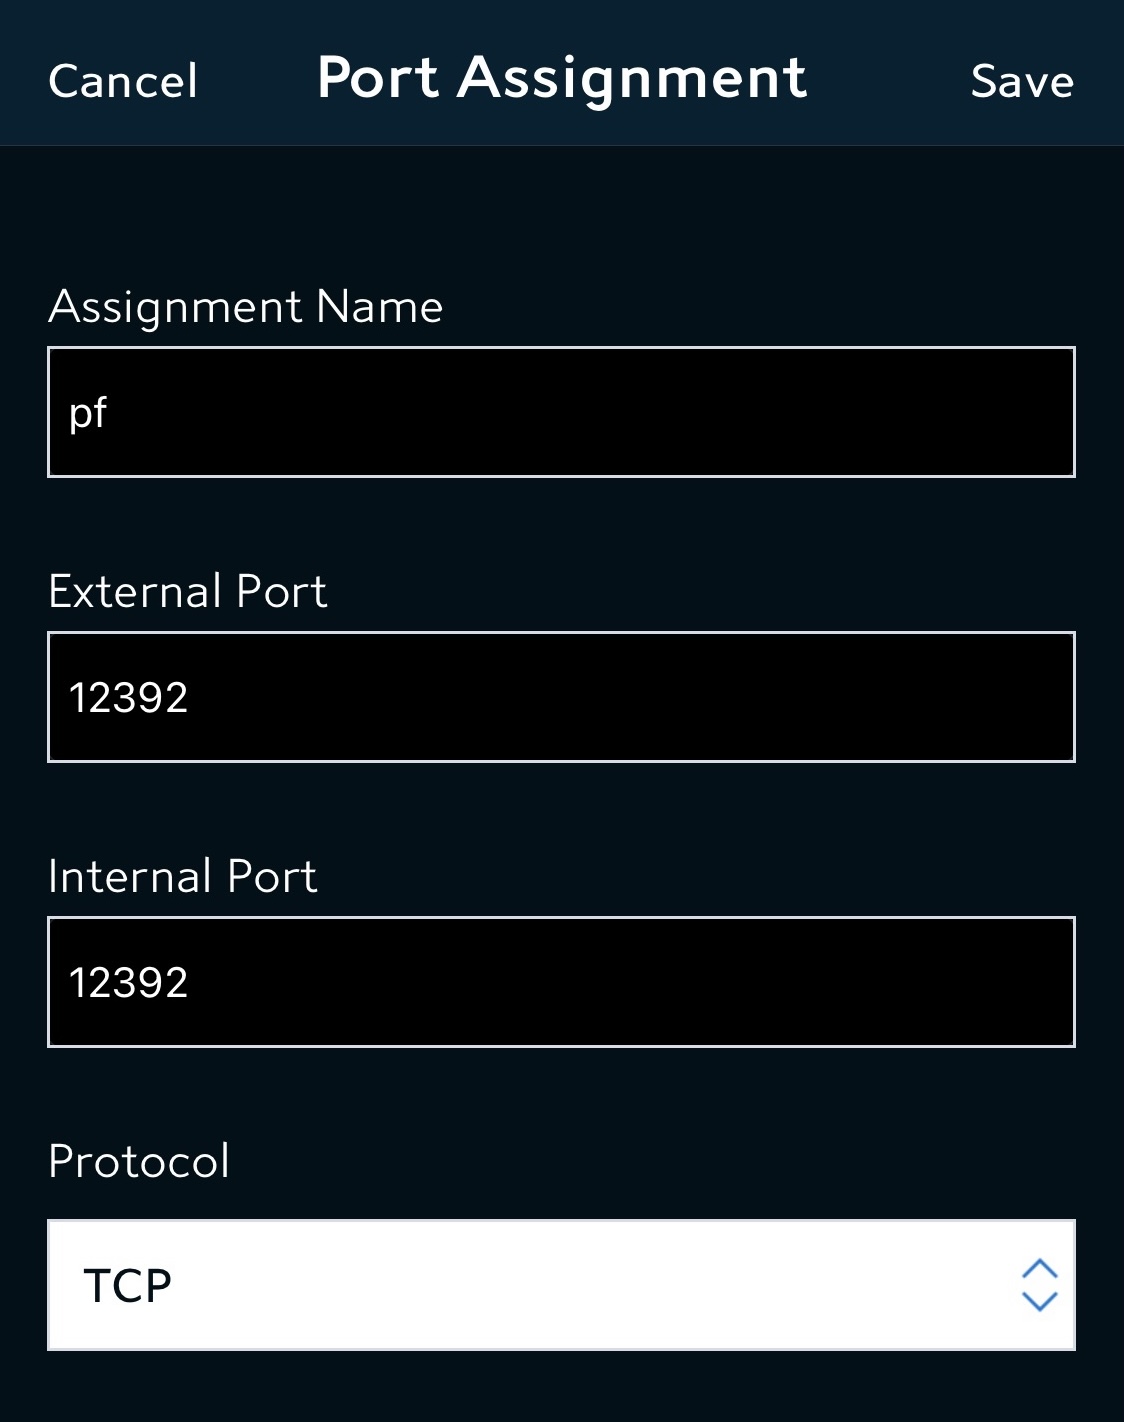
- Port Forwarding
- SSH Tunneling
- How To Configure A Node For Direct UI Access (without SSH tunneling)
- How To RDP
- API Calls
- How To Update Qortal & .jar File
- How To Bootstrap & Delete The DB
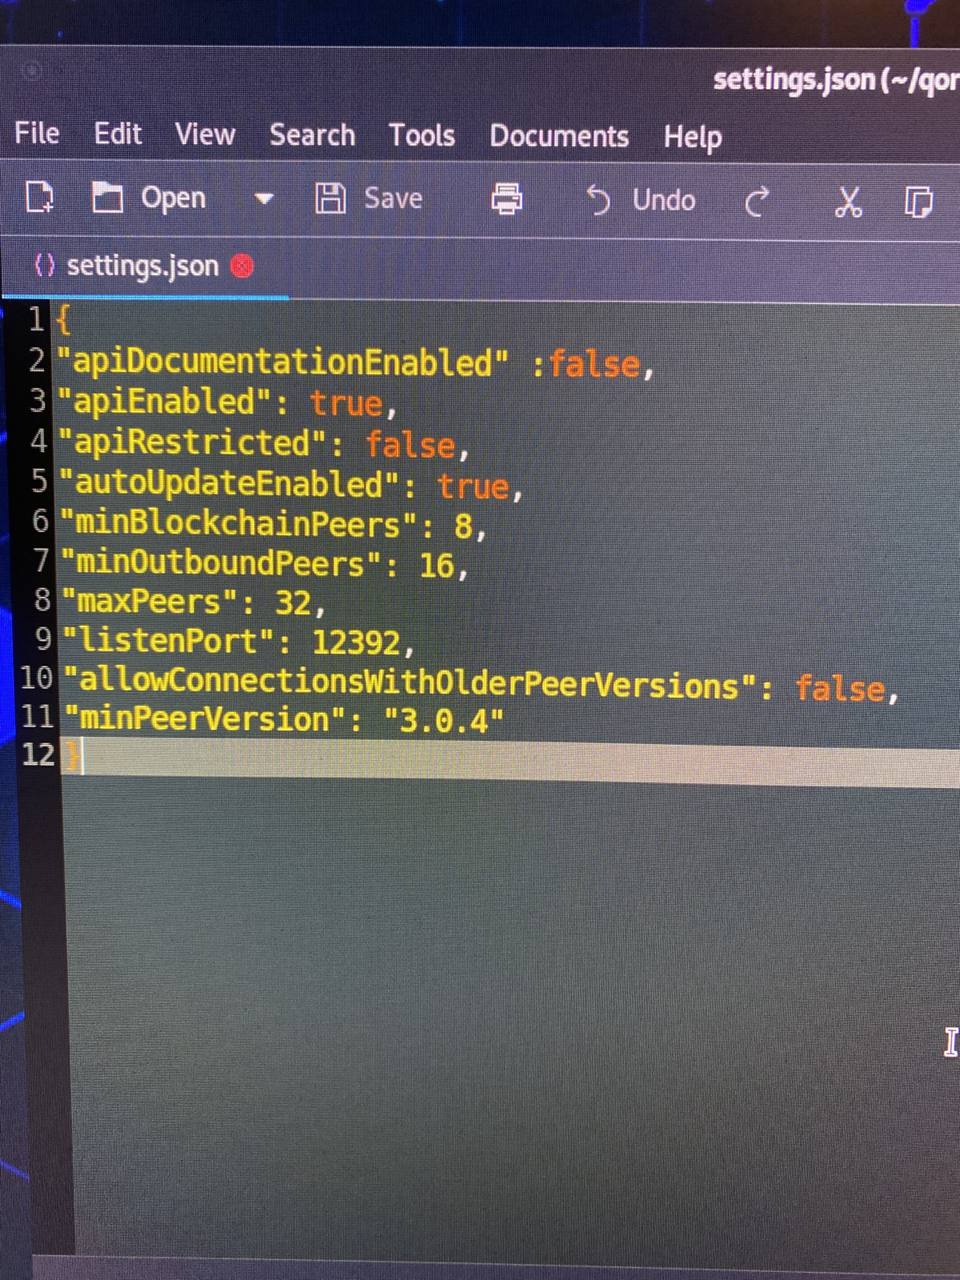
- How To Edit Qortal Core Settings
- List Of Terminal Commands
- Qortal Official Repo - Build & Run
- How To Build Qortal UI From Source
- How To Host Your Public Data
- How to Setup A Gateway Node
- Ubuntu 22.04 With Cinnamon Desktop Setup
- How To Make A Cold Wallet
- OLD How To Sponsor
- Sponsoring New Minters
- How To Reduce Bandwidth
Node Setup Guides
- Linux (Debian+Ubuntu+Mint)
- Mac
- Windows
- Raspberry Pi SBC's
- - RPi 4 Community OS's
- - - RPi 4 Retired OS's
- - RPi 5 Community OS's
- - - RPi 5 Retired OS's
– QORTector
- VPS
- Qubes OS
- Android Termux
- Qnect App


